

Interview with The Arch Asylum
Answering all your microbladed brow questions

Most of you know my work-wife Kanani and what amazing brows she does. Today we will deep dive into the whole process to break down the service, healing and maintenance of microbladed brows.
First off what actually IS microblading? Well if you’re an elder millennial who was ever even mildly influenced by Christina Aguilera’s pencil thin eyebrows circa 2002, microblading is the answer to all your over-plucked whispy brow problems. It’s a semi-permanent deposit of ink into the top layers of skin done in a way that shades to fill sparse spots and is accentuated with strokes that mimic hairs. Simply put, they’re semi-permanent face tattoos. Sounds scary but when done right, they’re so natural and beautiful and can really frame your eyes in a way that lifts your whole face and brings your brows back to life.
Microblading really took off about 10 years ago. In my experience, more and more people were using makeup products and techniques to create more fullness whether it was from sparse existing brows or wanting a fuller look that fell more in line with current trends. Trends in the beauty industry can move fast and furious but I believe fuller brows are standing the test of time, at least with some generations. I think those of us that did have an X-Tina brow moment have since realized that our natural fullness is a lot more flattering especially as we age.
If you’ve been considering microblading for the first time and you’re anything like me you probably want to clearly understand exactly what you’re getting yourself into. So what does this process look like? The very first time you get your brows done will actually take place over two appointments. The touchup appointment takes place 6-12 weeks after the initial appointment to fine tune and add dimension to your brows after the color from the initial appointment has settled. Once you have had these initial appointments maintenance touchups occur roughly once a year to 18 months depending on how your skin holds pigment.
At the start of your service you’ll consult with the master and the two of you will make a game plan for your brow map. There is a formula to how a technician like Kanani will map out your ideal brow shape but its incredibly individualized and dependent on each client’s desired results so to try to generalize that process would be negligent on my part. What I will say is that there is a method to the madness. Kanani will measure and draw out a framework for the ideal brows for your face that best aligns with the brows you already have and the brows you’d prefer to have. This is the time to speak up, ask any questions you may have and make any requests so the map can be tweaked to perfection. Having watched her master this craft for the better part of a decade, Kanani is exceptional at making sure you have as clear of an idea of what your microblading will achieve in this consultation phase of the process. Before any “blading” actually takes place you’ll have a numbing agent applied to your skin to keep you as comfortable as possible throughout the service as well.
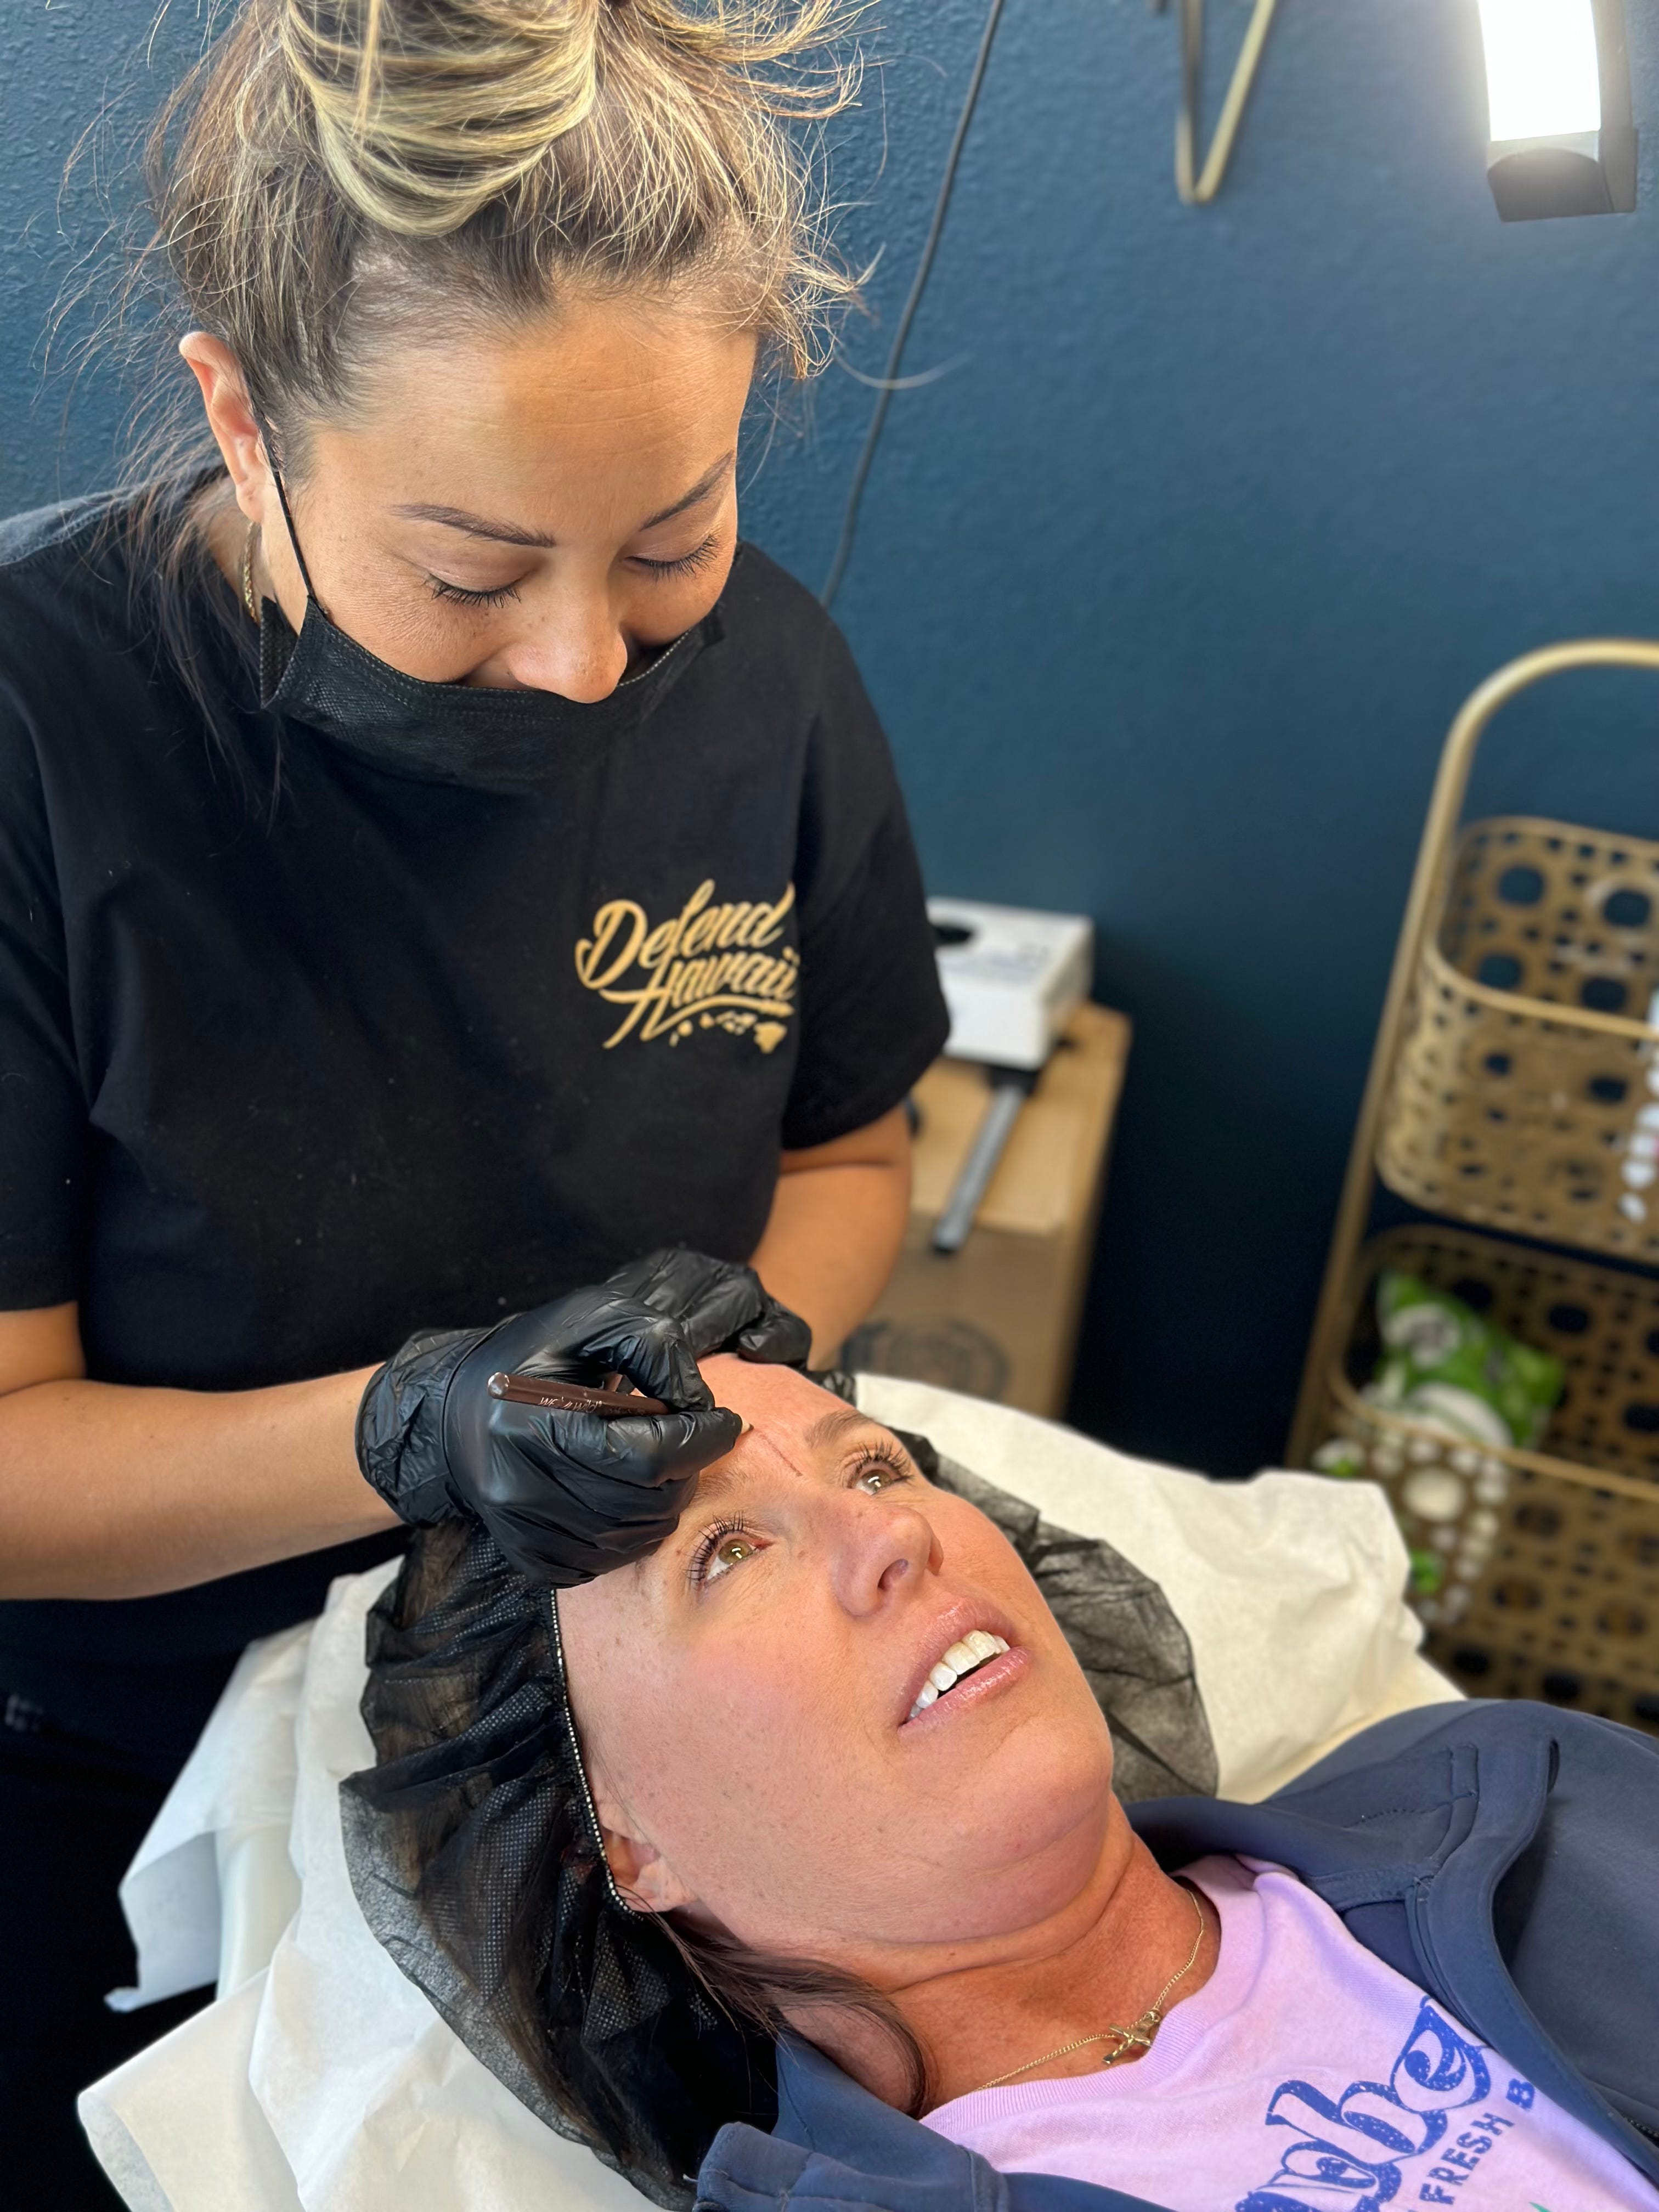
Once you have your brow map in place it’s time to start the actual procedure. This is all done in a sterile environment meaning the table is disinfected, fresh paper is applied to lay down on, you’ll sport a really high fashion hair net and all of Kanani’s tools are being opened from fresh sterile packaging. It’s very clinical. The certification technicians go through is highly regulated and licensure is not dissimilar from nursing or paramedic certification specific to blood born pathogens and sterilization practices. Now that you’ve got your lunch lady hair net on and you’re on the table under Kanani’s light source the fun can really begin.
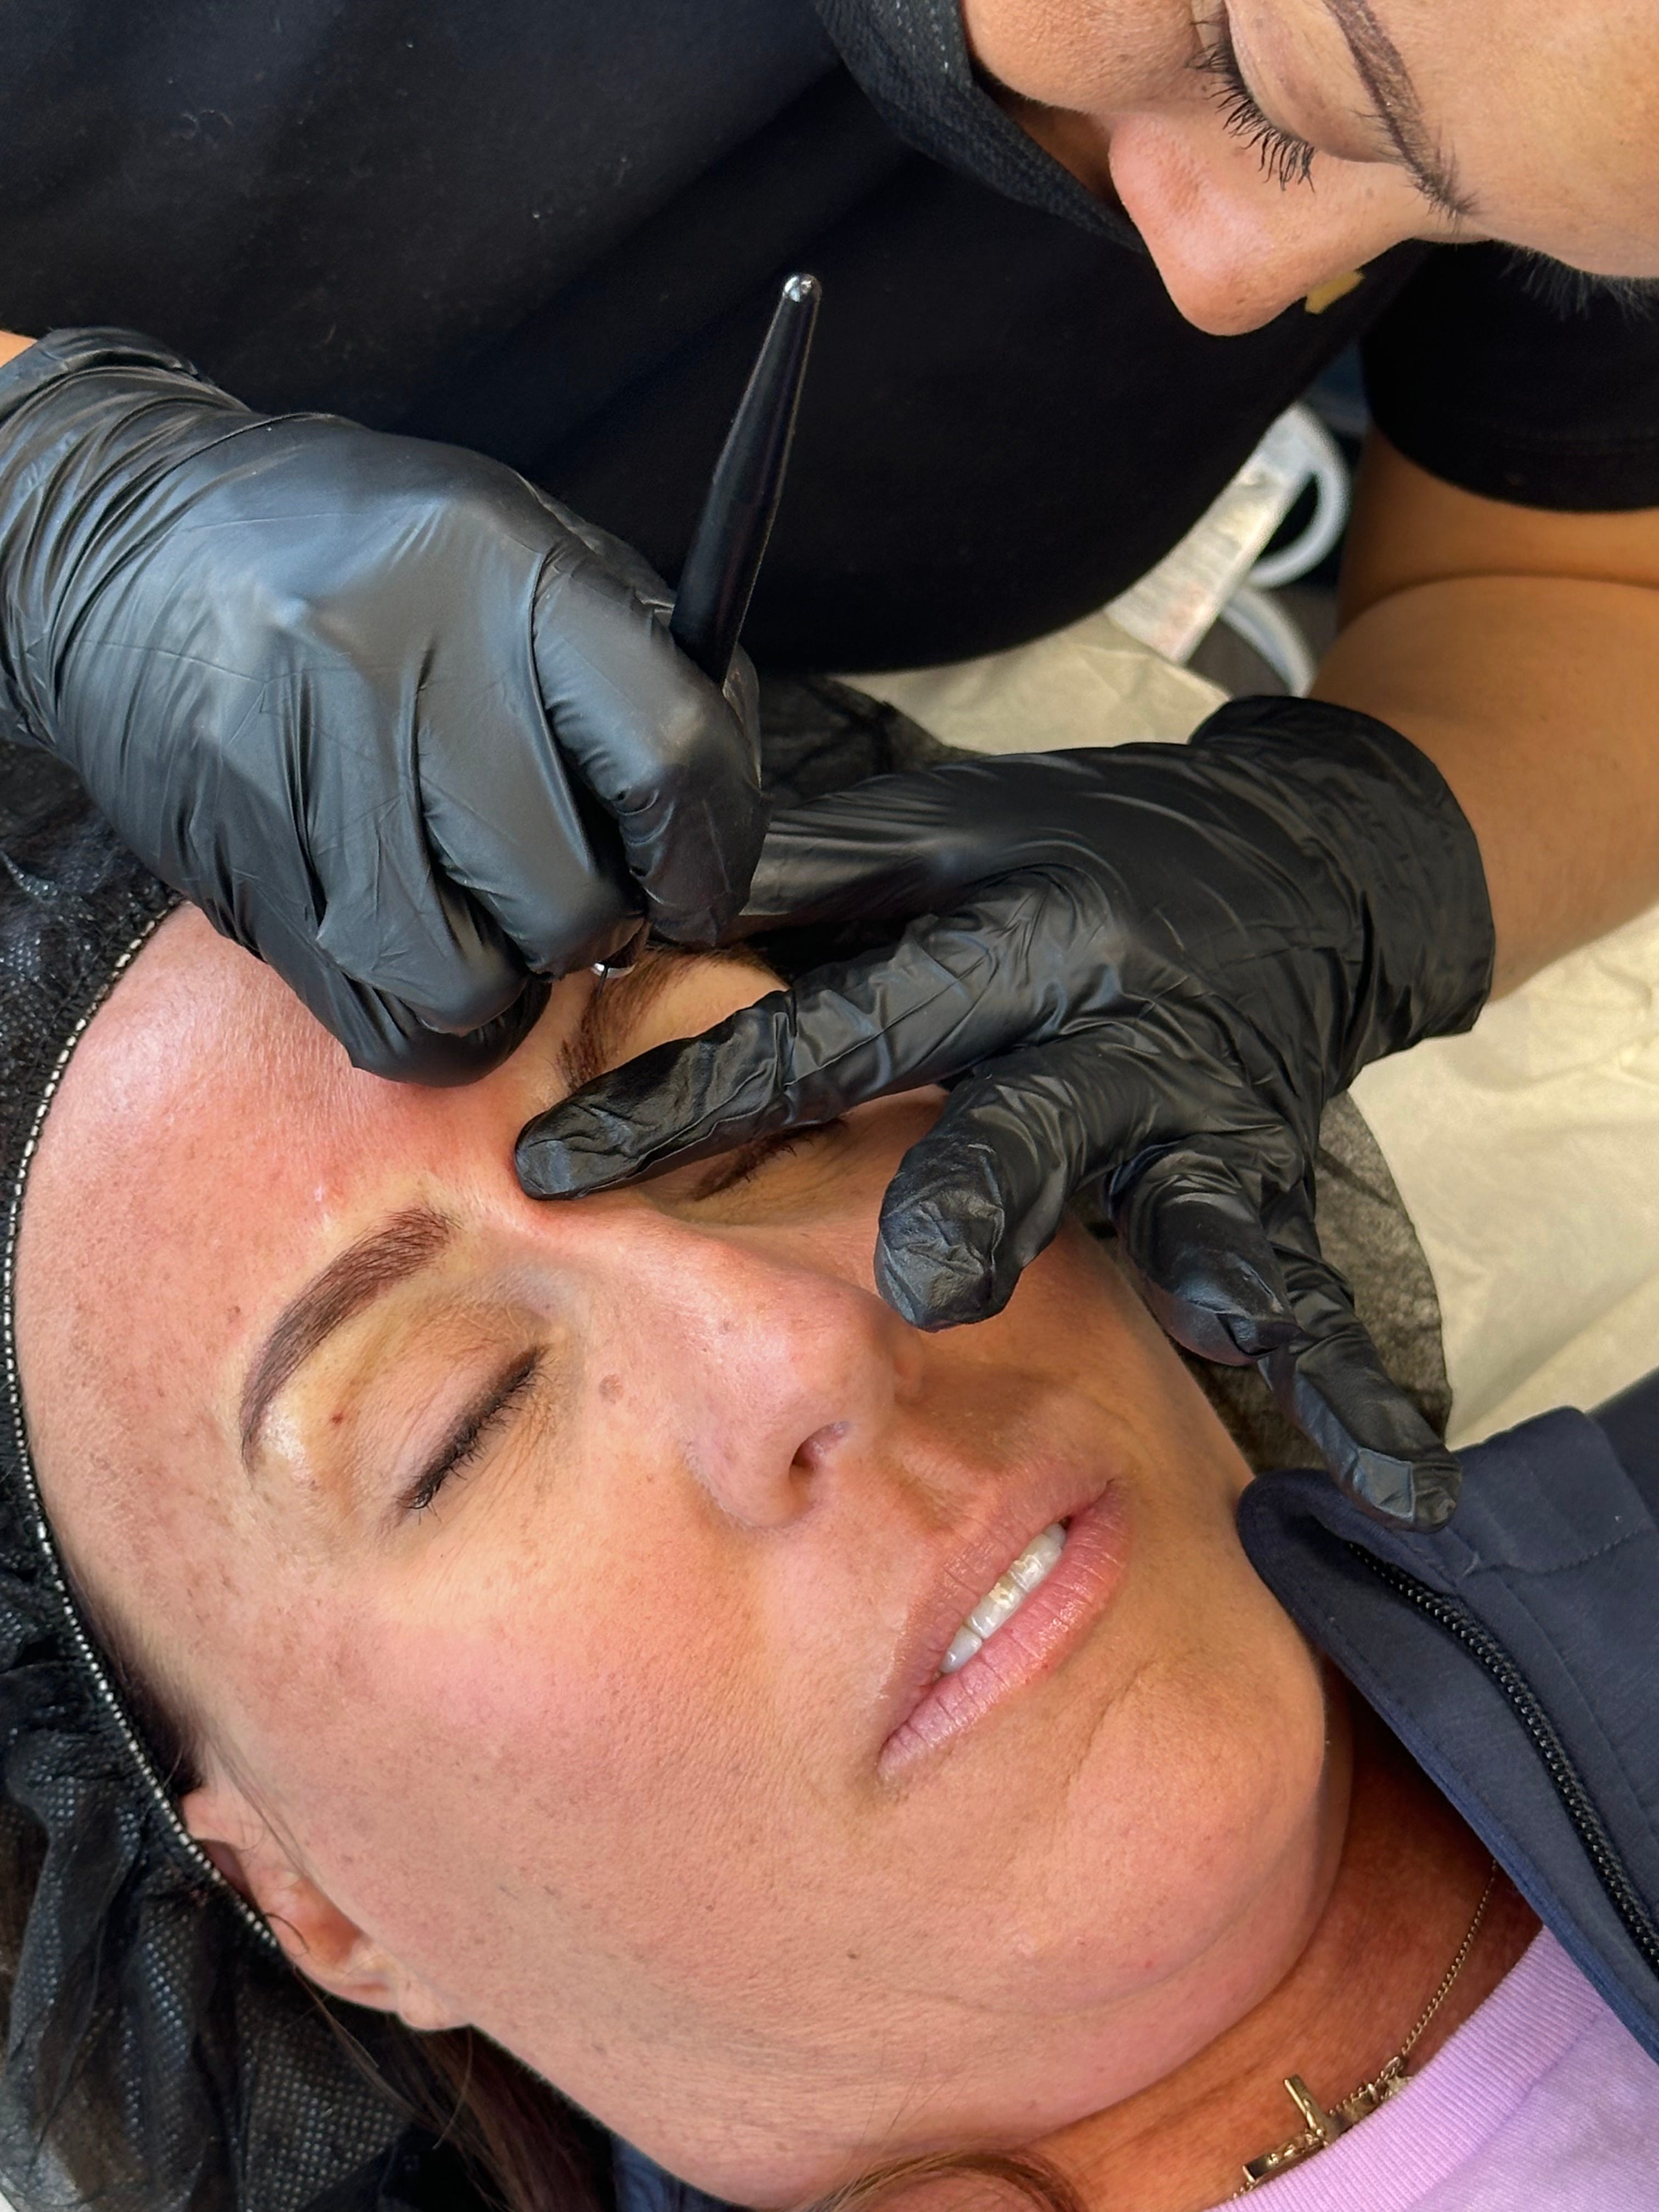
She will begin one brow at a time working in a series of passes to build coverage and add detail. According to Kanani most clients require on average 5 passes total. The first few passes will fill in the desired shape and add depth with more shading or stippling. The final passes add dimension with those hair like strokes. This is my favorite part and where the magic really happens. Those hair like strokes make your brows look like actual brows and not just filled in like makeup. In between each pass she will reapply a numbing agent after wiping away the ink deposit. After the first pass most clients notice that the following passes are noticeably more comfortable as the numbing agent has then been applied to broken skin which renders it more effective.

Once Kanani has perfected your brows she will let you see those beauties and walk you through what your aftercare and healing time will look like. The following is a detailed breakdown from the master herself:
It is essential that you follow these aftercare instructions:
Upon the end of your service, blot excess fluid build up immediately after procedure
Wash brows AM and PM following these steps for the next 15 days:
1. Wash and sanitize hands.
2. Gently wash off ointment with gentle cleanser and water. Be extra careful not to tug or scrub the brows.
3. After gently washing, cleanse brows with Cetaphil Gentle Cleanser, then rinse with distilled water.Paper towel blot dry
Apply oil/ointment on your treated area as needed with a cotton swab
The following must be avoided during all 14 days post-procedure:
• Increased sweating
• Practicing sports
• Swimming
• Hot sauna, hot bath, or jacuzzi
• Sun tanning or salon tanning
• Any laser or chemical treatments or peelings, and/or any creams containing Retin- A or Glycolic Acid on the face or neck
• Picking, peeling, or scratching of the micro pigmented area in order to avoid scarring of the area or removal of the pigment
• Performing tasks related to heavy household cleaning such as garage or basement cleaning where there is a lot of airborne debris
• Smoking
• Drinking alcohol in excess, as it may lead to slow healing of wounds
• Driving in open air vehicles such as convertibles, boats, bicycles, or motorcycles
• Touching of the eyebrow area except for when rinsing and applying the post-care cream with a cotton swabBefore showering apply a layer of post-care cream to protect your eyebrows from moisture. During the shower keep your face away from the shower-head.
Itchiness and flaking may occur during the first seven days post-procedure. However, experience has shown that by following these after-care instructions, these symptoms may quickly disappear.
The healing will last between 18-25 days. Touch-ups and/or correction of the shape-design is necessary only after this period.
If you have any unexpected problems with the healing of the skin, please contact me (Kanani).
As far as the healing phases & stages here is a “What to expect” guideline also from Kanani:
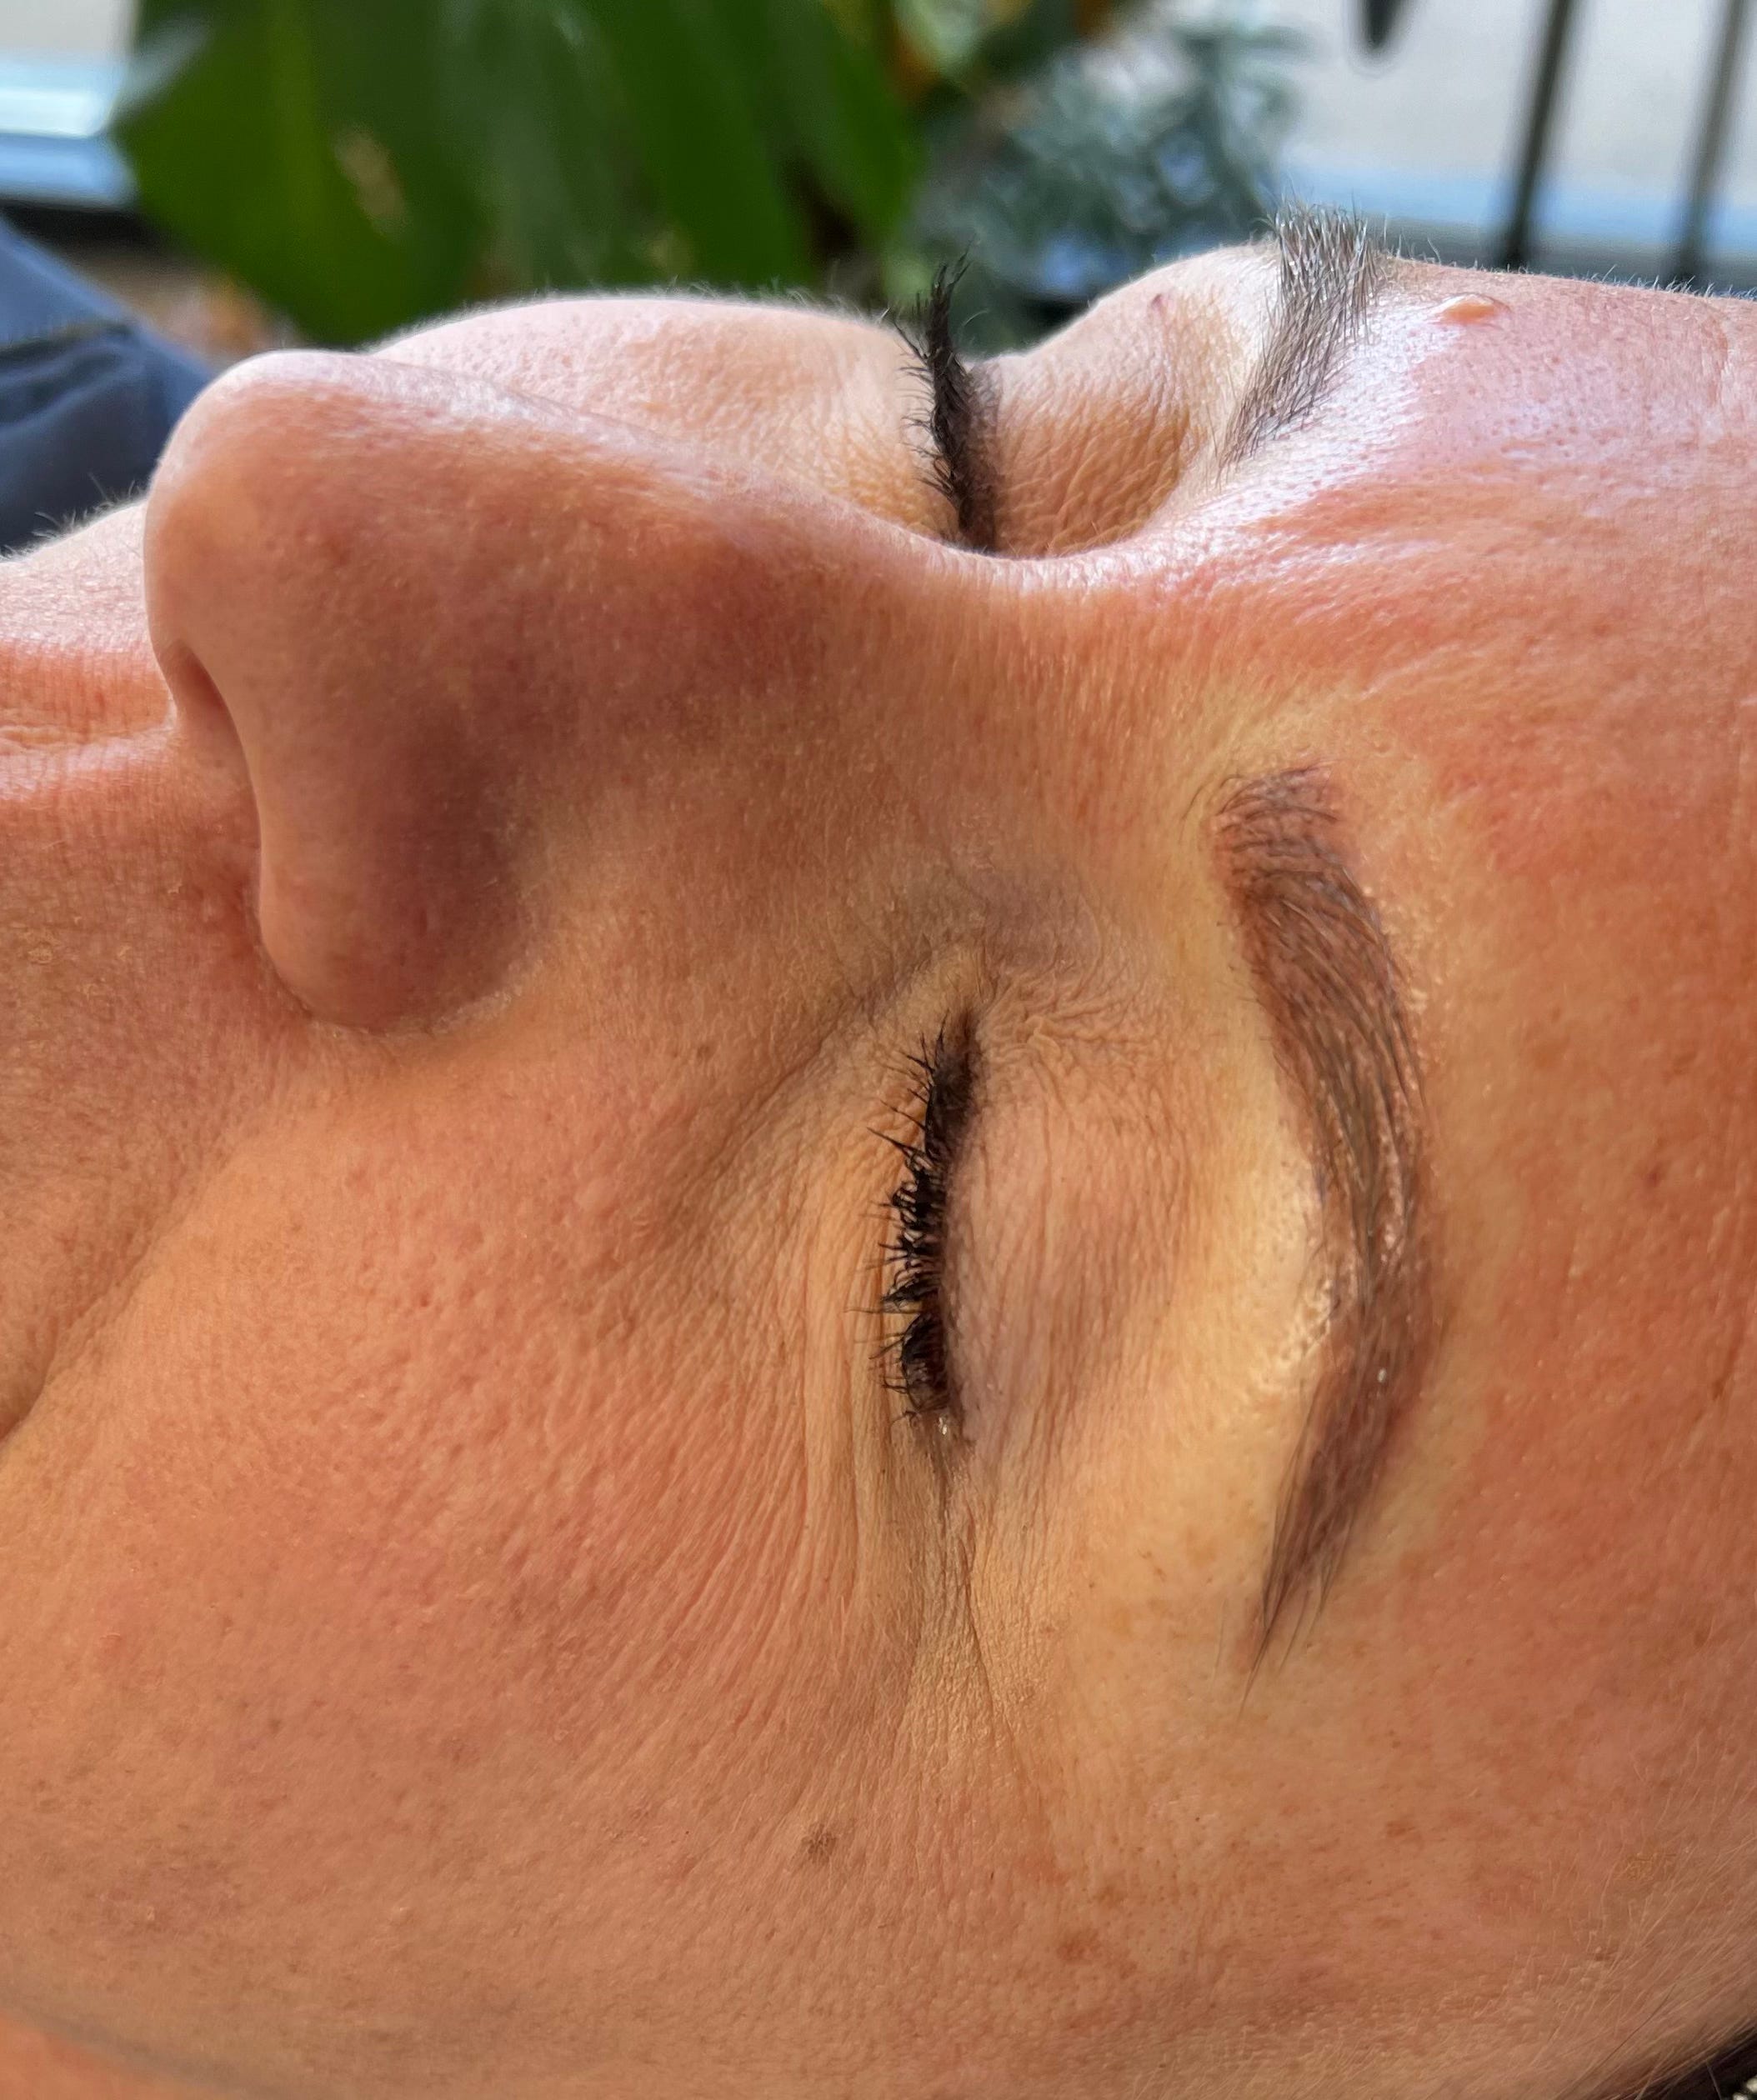
Your new brows will go through several phases during the healing cycle.
The pigment will appear very sharp and dark immediately after the procedure. This is because the pigment is still sitting on top of your skin, and has not yet settled in completely. The color of the pigment will soften gradually. Do not be alarmed if you see some pigment on the cotton swab, as this is excess pigment and/or body fluid that is naturally exiting your skin. Once the healing of the skin starts taking place, it will look like dandruff flakes or dry skin. This might give you the impression that the color pigment is fading too quickly. However, this is just superficial color and dry skin being naturally removed from your eyebrows. The pigment will resurface in 2-4 weeks post peeling. If there is a need to color adjust, the opportunity is there at the touchup appointment where I’ll add dimension and color adjust if necessary.
Once completely healed, always apply a layer of sunscreen SPF 30 up to SPF 50 on your eyebrows when exposed to the sun. Sun exposure might cause the color pigment to fade away more quickly.
Basically, keep them dry, keep them clean & keep them hydrated.
The touchup is 6-12 weeks from the first procedure so the skin is completely healed. The touchup is for adding dimension & longevity to the brows. It’s also where we can do some fine tuning, build the hyper realism and color adjust if it’s necessary.
I will never overwork the skin or pack in the pigment and will send you away if it’s too soon for a prebooked touchup of any sort to preserve the integrity of your skin and your results.
I have had my brows done by Kanani for years and I love them. It’s amazing what a difference it really makes. It might seem trivial but I love that when I take my boys swimming in the summer and I have no makeup on I still have perfectly shaped and shaded eyebrows making me feel at least a little bit put together. It makes getting ready super fast and easy as I never have to fill them with makeup unless I’m way overdue for a touchup and even then I only have to fill a couple sparse spots on the outer tails.
If you would like to see more of her work, you can BROWse her gallery here. There are so many beautiful ones I couldn’t pare down a selection of my favorites so I think you should look at all of them too. If you would like to schedule a consultation you can reach Kanani at the same link. If you move forward with booking please be sure to mention your connection to me for discounted pricing. I hope this has answered any questions you have had around microblading or corrected any misconceptions you may have had. Remember friends, always leave your brows and your taxes to the professionals :)